What you can do with your editable demo
Here are some things to try out that will help you get a feel for the content author experience in Silverstripe CMS once you’ve got your editable demo site.
Create a page
Let’s create a page and take a look at some of the ways you can customise it. In this example, we’ll be creating a Generic content page. There are two ways to create a page:
- click the Add new button, or
- right-click on the parent page where you’d like to add a page and select Add new page here.
For each option, the page type you should select here is Page.
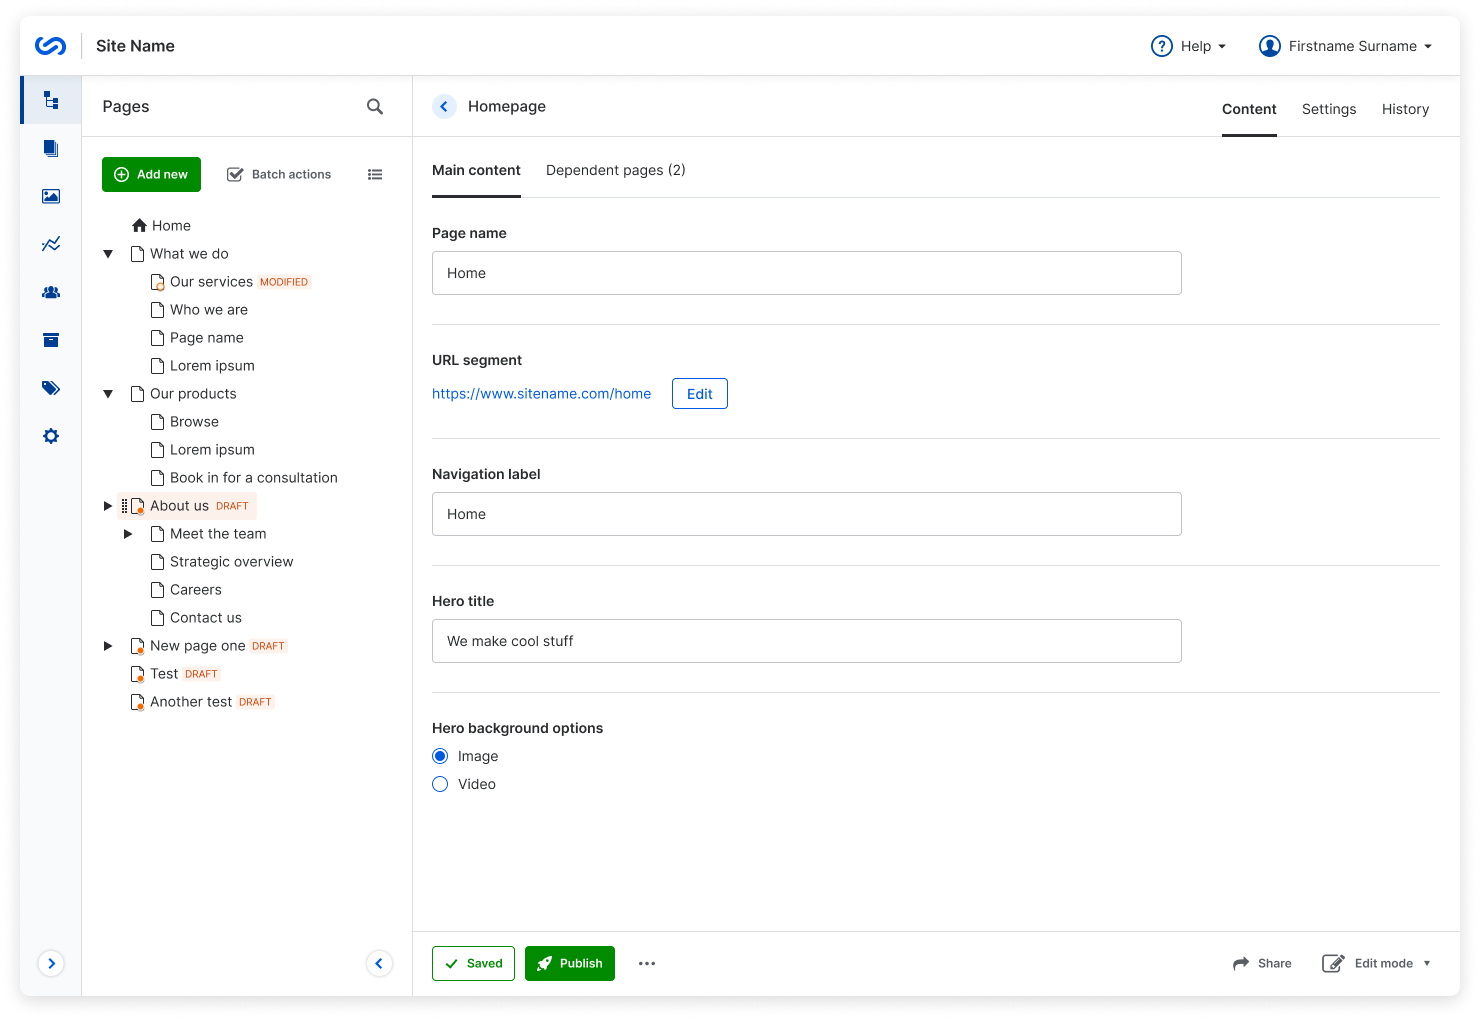
Content
On the Content tab, you can give your page a name, and edit the URL segment, and what it will be called in the Navigation.
If you click the Add block button, you’ll see all the block options you can add to your page. Have a play around with all the different block types! If you need inspiration, check out the Content blocks page.
Below that, you’ll see a Metadata area, which you can expand if you want to add information about your page that is used by search engines, or other areas of the site. Here you can add an image, title, description and tags.
Settings
The Settings tab is where you can set your page type, location, and whether it shows up in menus and search. If you want to set custom permissions for a page, you can also do this here.
Within the Settings tab, you’ll find secondary tabs for Behaviour and Workflow. Find out more about about workflow on the Workflow page.
History
The History tab is where you’ll find all the actions that have happened on your page, like when it was created, edited, and published. You can also see dates and users for each of these actions.
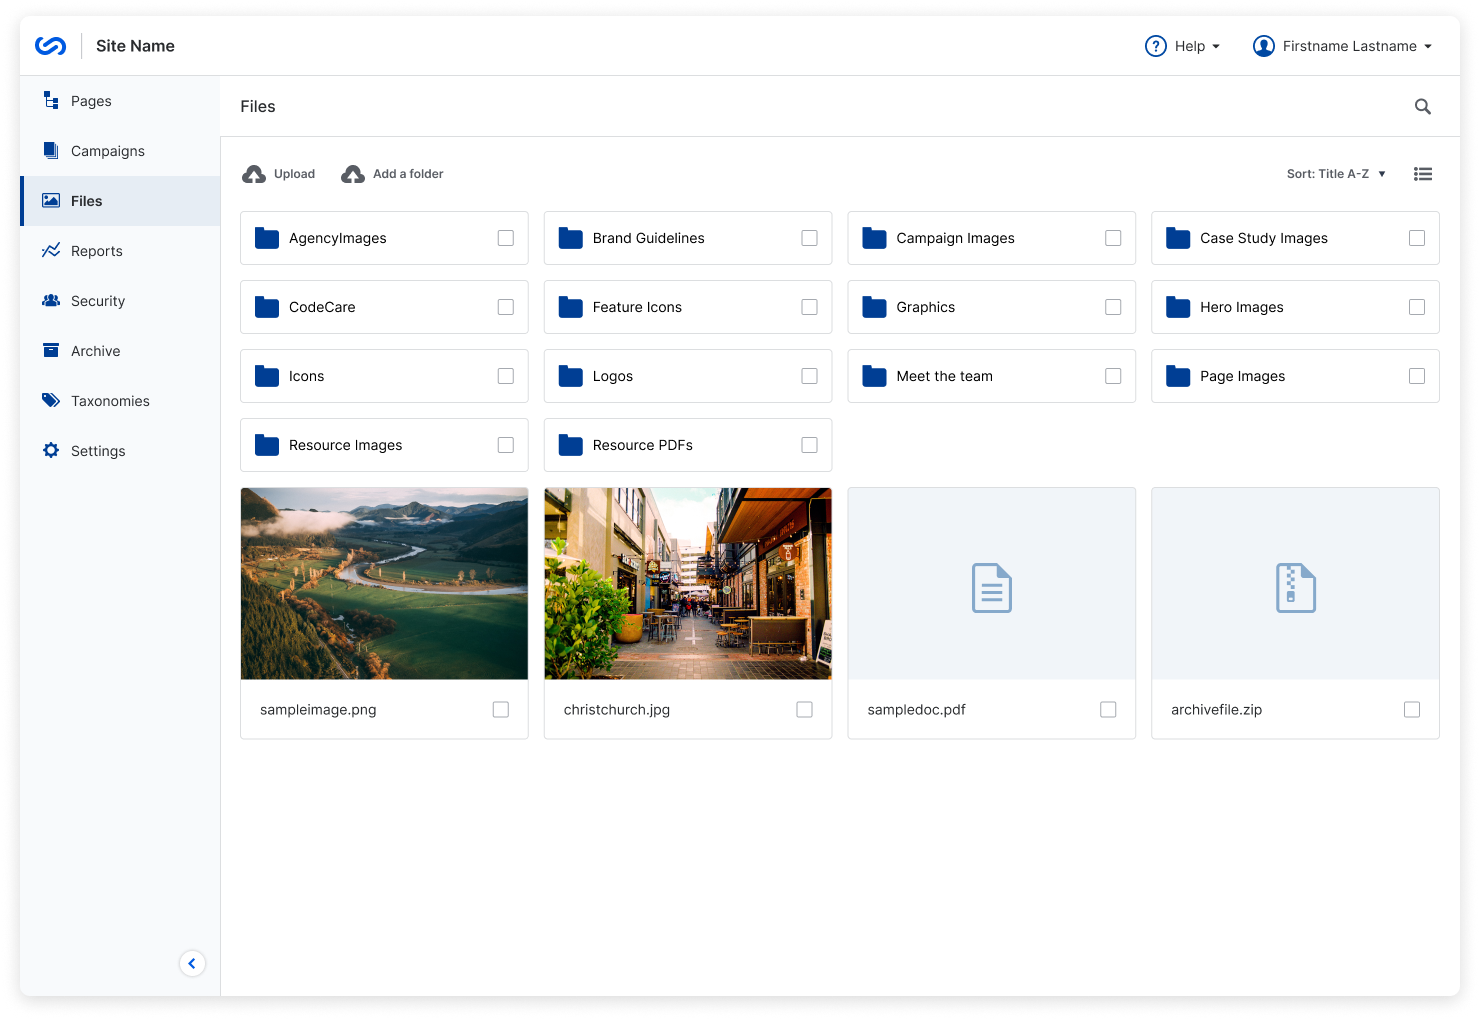
Add files
If you want to add images or documents, you’ll need to add some files. When you navigate to the Files area, you’ll see some folders already set up for the demo site. If you want to put your files in their own folder, you can click Add folder to create a place for your new files.
Upload
There are two ways to upload files. Navigate to the folder where you want to put your files, and then:
- drag the file from your file browser, or
- click Upload, and select the file from your file browser.
Publish
Your file will have a red dot next to it in the Files area, which means it’s not published yet. Click on your file, and click the green Publish button. Next to that button, you’ll also find options to unpublish or delete your file by clicking the kebab icon.
Have a play
You’ve uploaded and published some files! Now you can go back to that content page you created, and add them to some content blocks. If you want to know more about using image and video files, check out the media page.
You can also check out some documents in action in the Document library template.